Showing posts with label wedding. Show all posts

Tuesday, November 30, 2010

Wedding Craft #14: Table Numbers

Tables at our wedding
Hi there! This is Brian, Annette's husband. She has asked me to write a bit about the table number cards I put together for our wedding. Starting with an old piece of sheet music paper, I folded it into a fan and trimmed the edges. Then, I constructed a stand, which consisted of two different sized circles, cut out of heavy black
cardstock. For the smaller circle, I even used one of our wedding jam
mason jars as a template!
Making the table numbers...
I took the first larger circle and covered a side with glue, placed the sheet music fan in the middle and folded the edges up the front and back.
Making the table numbers...
Once the glue dried, I put another dab on the bottom of the fan and placed it in the middle of the smaller circle, which helped to keep the fan standing upright.
Making the table numbers...
We printed the table numbers on blue paper, cut each out in a semicircle, and affixed it onto the front of the fan... that's it!
Table Numbers
These table number cards were fun to create and looked pretty great with the rest of our wedding decor.

Up next: Wedding Craft #15: Just Married Sign

**Top photograph above is by Our Labor of Love

Monday, November 29, 2010

Wedding Craft #13: Library Books & Card Catalog Escort Cards

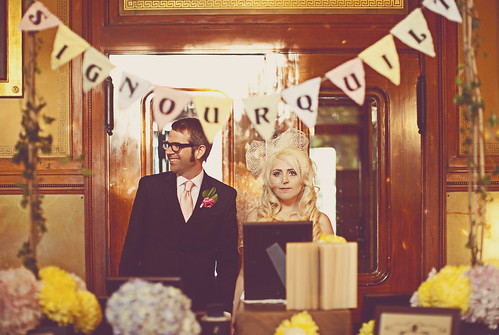
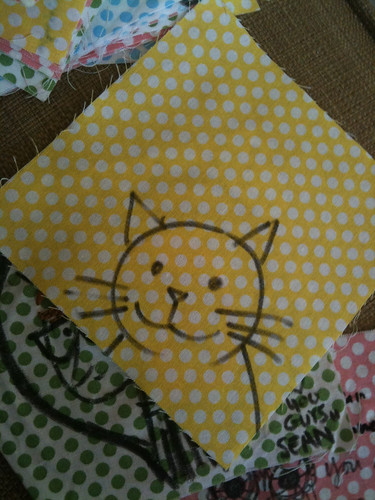
I take great pride in being a librarian. Not only do I love what I do, but I completely embrace the culture. I wear glasses. I love cats. I love old school librarian outfits. And although we're known for being a crabby bunch - I think we're awesome (and I don't think we're all crabby)! It should also be noted that Brian thinks librarians are awesome too. Remember this? I knew the librarian theme just had to be somewhat featured in our wedding.
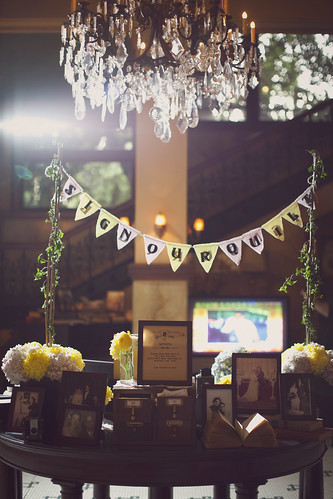
Books and photos at our wedding reception
Our venue, Castle Green, made it so easy to incorporate our theme. The photographs and books above and below were all sitting on top of an old grand piano, which perfectly incorporated our love for music too.
Books and photos at our wedding reception
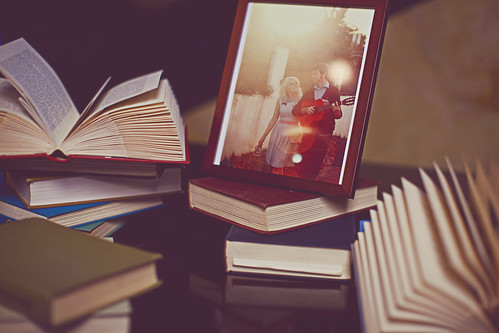
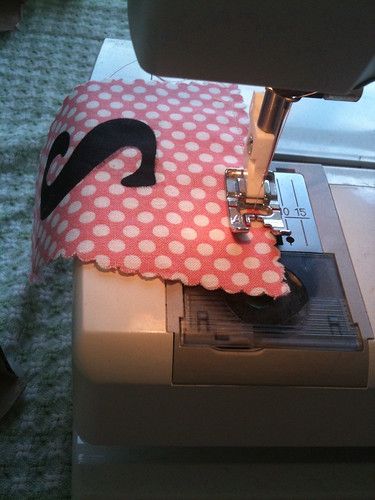
Luckily for me, I had lots of access to discarded books, making this all very doable. To give some of the books a whimsical, fluttered look, I folded every other page. Doing this kept the books to stay open and look so fantastic.
Books at our wedding
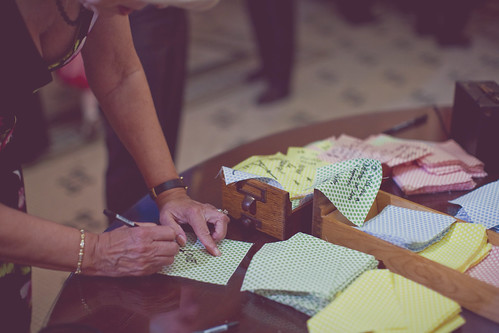
My real pride and joy of the librarian theme; however, was my card catalog. My dear librarian friend, Joanna, gave me her old card catalog! Isn't it beautiful? I just love these things.
Card Catalog Escort Cards
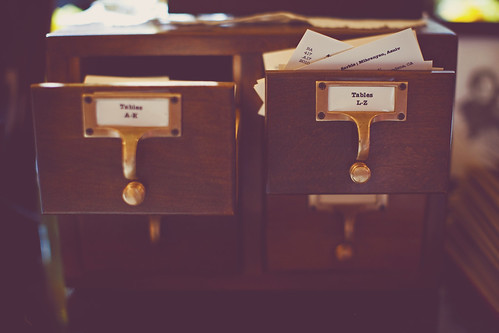
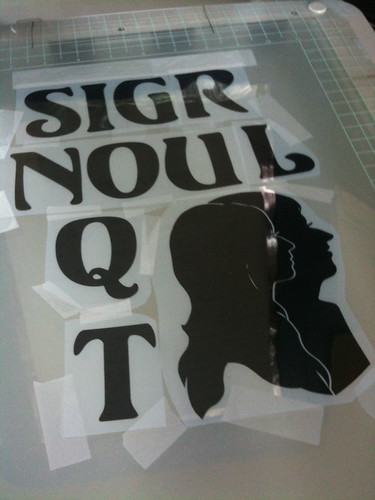
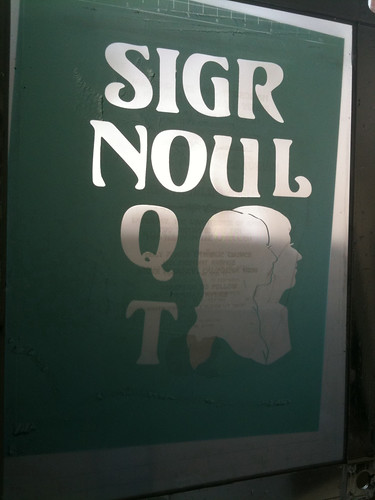
Once I had the card catalog, I knew I had to use it for the escort cards.
Instructions for the Library Card Catalog Escort Cards
I made a standard Library of Congress style call number for the cards, which read (and stood for):
BA (Brian & Annette)
417 (4/17 the day we got married)
.A17 (April 17, the day we got married)
2010 (2010, the year we got married)
At first, I got real nerdy and wanted to use the call number of an existing book - but I realized that only I (and perhaps the handful of librarians in attendance) would get it, so I opted for the alternative approach and I think it worked out. Each person was led to their table, which we referred to as chapters.
Decor at our wedding
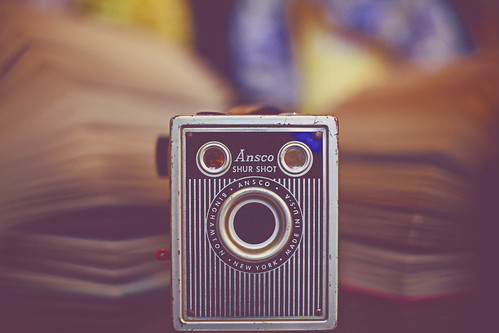
Around the card catalog, we had more books and featured a number of vintage cameras and old photographs. The photographs below are of Brian's parent's and grandparents.
Decor at our wedding
And my parents and grandparents...
Decor at our wedding
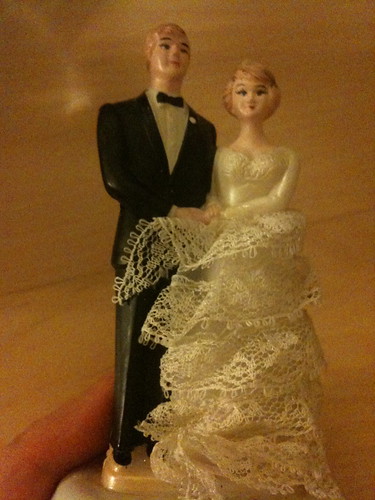
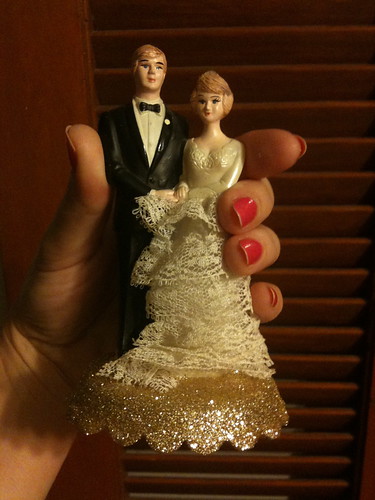
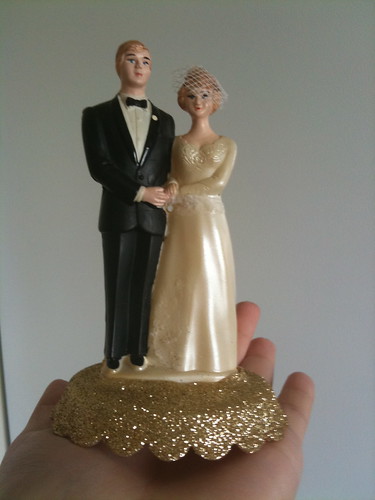
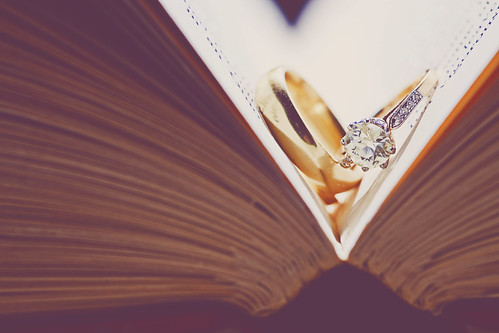
Even our rings fit the decor. My engagement ring dates back to 1897! Brian and I both designed our antique-style wedding bands (mine is not pictured), which we had my uncles make. My uncles are so talented!
Our rings
For more photographs of our card catalog and library theme, go to my flickr page.

Up next: Wedding Craft #14: Table Numbers

**All photographs above are by Our Labor of Love

Sunday, November 28, 2010

Wedding Craft #12: Silhouette Woodblock

Our wedding, our little table
Sure, it's super tiny detail - but those tiny details add up! At least I think they did at our wedding. Since I was already creating a screen for the guestbook quilt banner, I decided to get the most out of my screen, and add a large silhouette too.
Screen for silhouette woodblock
At first, I really had no idea what I was going to do. A trip to the craft store fixed that. I found these really cool slices of wood, which I then decided to screen print.
iphone_pic
I'll admit it, I messed it up the first time. The ink got into the tiny sliver of negative space between our silhouettes the first time around. So, what did I do? I covered it with the same fabric I used for our favor tops, wedding quilt, and wedding quilt banner.
Back of silhouette woodblock
I paired it with a small gold stand I found for $2 and the whole craft cost around $6. Not bad, right? We still have it displayed in our bookshelf too!

Up next: Wedding Craft #13: Library Books & Card Catalog Escort Cards

**Picture of Brian and I by Our Labor of Love

Saturday, November 27, 2010

Wedding Craft #11: Quilt Banner

Our wedding, as you walked into the reception lobby
As many of you already know, Brian and I featured a number of homemade crafts at our wedding - from the invitations, to the favors, and every detail in between. One common thread (thread!) was the fabric we used in a lot of the crafts.
Wedding quilt banner fabric
We used this polka dot fabric in the tops of our wedding favors and in our quilt guestbook, so I decided to make a banner using the same fabric. The first step was to make a screen.
Making the screen for the wedding quilt banner and some other details...
After making our wedding invitations, I became a screen printing machine.
The screen I made for the wedding quilt banner
Once my screen was all done, I organized the order of each color/letter and began screen printing.
Screening the fabric for the wedding quilt banner
Before I knew it, they were all done!
Freshly screened fabric for the wedding quilt banner
I sandwiched the letters and began to sew the top edges together.
Sewing banner triangles together
Then came the twine.
Adding the twine inside..
After sewing the top edges of each triangle, I placed the twine along the top edge and sewed the rest of sides shut.
Wedding quilt banner
A small detail for a considerate amount of work, but I thought it added some fun and whimsy.

Up next: Wedding Craft #12: Silhouette Woodblock

**Reception table photograph by Our Labor of Love

Tuesday, November 23, 2010

Wedding Craft #10: Quilt Guestbook

Wedding Quilt square
One of the things I worried about most on our wedding day is about how everything would look at the reception hall. I had a very specific vision I really wanted to capture, but wasn't there to put it all together myself (though I left extremely thorough directions - I literally drew pictures of how I wanted everything to look). I told myself that no matter what happens, I'm going to just have a good time. I was prepared for the worst, but hoped for the best. I really didn't know how everything would look once it was all in the venue. I had been collecting bits and pieces of the decor for a good year, but it was all so abstract in my little apartment. I'll never forget walking into the reception hall for the first time on that day.
Our wedding, April 17, 2010
It was A-M-A-Z-I-N-G. It exceeded all of my expectations. It made all my hard work worth it! Hearing people say that the wedding was so "us" made it worth it.
One of the details of "us" I really wanted to capture was my love of quilting. Brian inspired me to start my first quilt and I haven't stopped since. I thought it would be fun to create our first family heirloom, a wedding quilt.
Wedding quilt squares
I cut approximately 300 squares, with fabric matching our wedding favors. I placed the squares in an old library card catalog drawer and included several fabric markers for people to add their notes and drawings.
Our wedding quilt guestbook
The notes and drawings we received were amazing!
Wedding Quilt square
My plan is to eventually embroidering each note, all by myself, all by hand. It's gonna take a while.
Wedding Quilt square
Some of the drawings are just incredible!
Wedding Quilt square
I may not finish this quilt anytime soon, but the sweet notes and wonderful drawings keep me inspired to hurry it up!
Wedding Quilt square

Up next: Wedding Craft #11: Quilt Banner

Tuesday, October 12, 2010

Wedding Craft #9: Bow Napkins

While I was preparing sparkly meringues, my best friend Junko, was on my living room floor folding 200+ napkins into adorable bows.
Bow Napkins
Junko folded the napkins, then wrapped a piece of fabric ribbon around the middle and taped the ribbon in the back, to make these sweet little bows (below image by Our Labor of Love).
Bow Napkins and Jam.
They looked perfect with our homemade jam favors!

Up next: Wedding Craft #10: Quilt Guestbook

Monday, October 11, 2010

Wedding Craft #8: Sparkly Meringues

The dessert table at our wedding was my pet project. Forget the dress, forget the venue, I was all about the dessert table. I wanted something whimsical, fluffy, and a little ooey gooey. We were lucky enough to have Sweet & Saucy Shop make our cake, caramel apples, and strawberry shortcakes and our friend Jill made us hundreds of French macarons. We also had a fun array of candies, fluffy pink donuts from Colorado Donuts, powdered donuts, cotton candy (thanks to our friend Maegan), and my sparkly meringues!
Sparkling Meringues
Everyone said I'd be totally stressed days before the wedding, but I was surprisingly calm. Brian, my friend Junko, and I all hung out, preparing last minute details, but we were all pretty mellow. Mellow enough to drive down to Trader Joes and buy a few cases of meringues, some white chocolate, and some pink and blue shimmery sprinkles. First, I melted the chocolate.
Melting white choclate
Then, I dipped each meringue lightly into the chocolate.
Dipping the meringues
Before the chocolate dried, I dipped the meringue into a plate of sprinkles. Either blue or pink.
Sparkling Meringues
I had quite a little assembly line going on.
Sparkling Meringues
I was so excited about how they were coming out, they looked like little jewels.
Sparkling Meringues
Or, exotic underwater sea creatures! They looked so lovely at the wedding, here they are, photographed by Our Labor of Love:
Sparkling Meringues

Up next: Wedding Craft #9: Bow Napkins

Sunday, October 10, 2010

Wedding Craft #7: Wedding Cake Topper

I realize I've been missing on the blog scene for a while. Let me tell you friends, lots has happened. I got a new job and it's been pretty great. I love what I do. Being a librarian is really fun! Really! It's been an intense few months settling in, but I think I'm finally ready to throw myself back into blogging and crafting again. And now the long awaited wedding craft #7! It's a really funny story actually. I was really touched when my mom gave me her own wedding topper to use for my wedding. She had been saving it in a box with her wedding dress, her veil, and other wedding memories.
Cake Topper, in progress
This is what it looked like when my mom gave it to me. I loved it, but I have to admit, the fabric around the bride's dress and the dingy white base wasn't ideal - but it was my mother's, so I couldn't change it. I mean, this is the same exact wedding cake topper that my parents used on their own wedding cake! Right? Wrong! Yes, wrong! So, for 1 year, I held onto my mom's cake topper, as-is. Then, only weeks before the wedding, I was looking through my parent's wedding album and discovered that their cake had a completely different topper! I'm not sure why my mom held onto this cake topper or for that matter, what happened to her actual cake topper? Either way, this was my green light to make some guilt-free changes.
Cake Topper, in progress
I wanted to work on the base of the cake first, so I wrapped the rest of the topper in foil and some tape.
Cake Topper, in progress
I then applied lots of glue and lots of sparkles.
Cake Topper, in progress
Gold sparkles cover the entire base of the new topper, which helped inspire the design of the wedding cake.
Cake Topper, in progress
Here the topper is, almost done, but not quite yet.
Finished Cake Topper
I added a small veil and removed the fabric on the bottom of the dress and it was all ready! Below are a few photos by our photographers, Our Labor of Love, from the wedding day.
Our wedding cake
The gold glitter from the base inspired the gold glitter sprinkles around our big pink cake.
Our wedding cake
And just in case anyone was wondering, our cake (made by Sweet & Saucy Shop) was delicious!
Our wedding cake
In fact, our entire dessert table was pretty grand.
Our dessert table

Up next: Wedding Craft #8: Sparkly Meringues