As many of you already know, Brian and I featured a number of homemade crafts at our wedding - from the invitations, to the favors, and every detail in between. One common thread (thread!) was the fabric we used in a lot of the crafts.
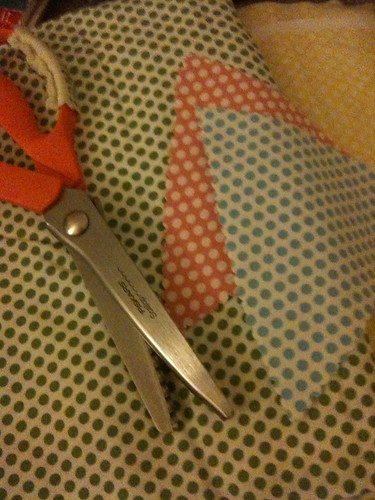
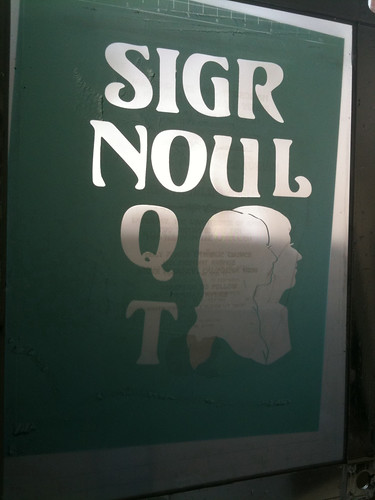
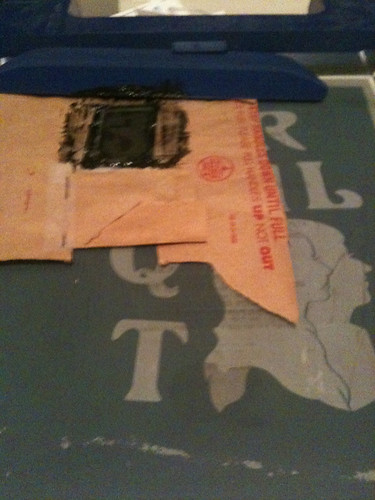
We used this polka dot fabric in the tops of our wedding favors and in our quilt guestbook, so I decided to make a banner using the same fabric. The first step was to make a screen.
After making our wedding invitations, I became a screen printing machine.
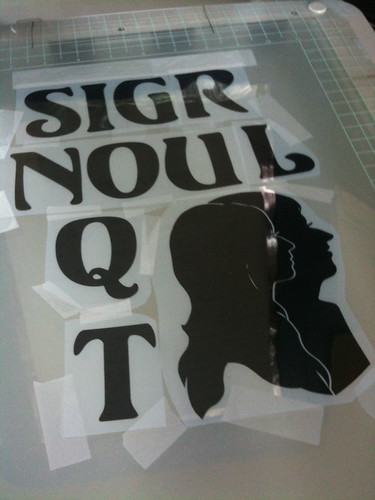
Once my screen was all done, I organized the order of each color/letter and began screen printing.
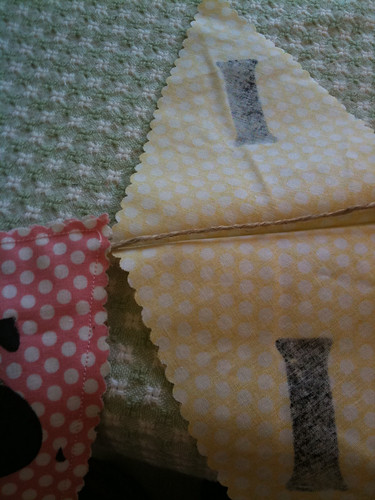
Before I knew it, they were all done!

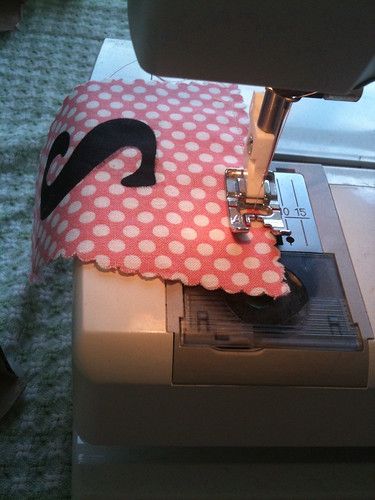
I sandwiched the letters and began to sew the top edges together.
Then came the twine.
After sewing the top edges of each triangle, I placed the twine along the top edge and sewed the rest of sides shut.
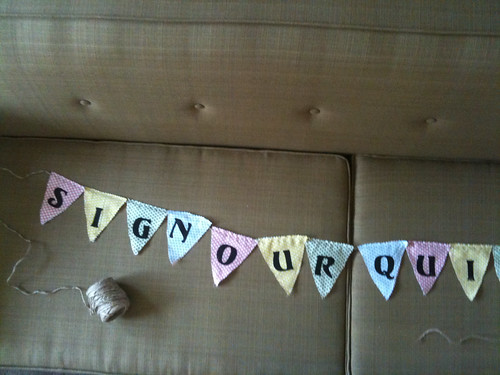
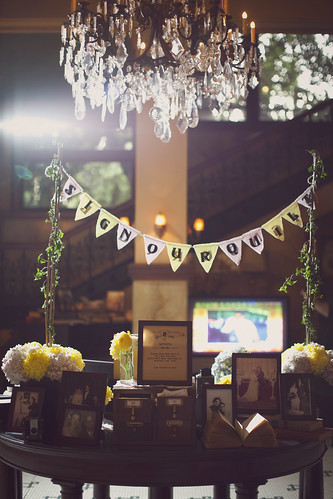
A small detail for a considerate amount of work, but I thought it added some fun and whimsy.
Up next: Wedding Craft #12: Silhouette Woodblock
**Reception table photograph by Our Labor of Love


No comments:
Post a Comment