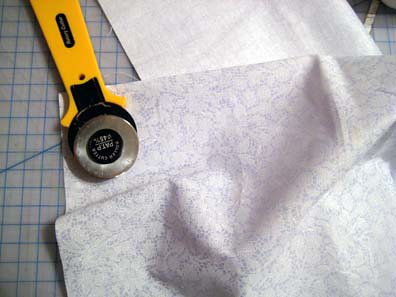
The boxes were 12"x12"x12", so I cut the fabric into a 13"x13" square. In order to save a few dollars, I'm only covering the front of the box.
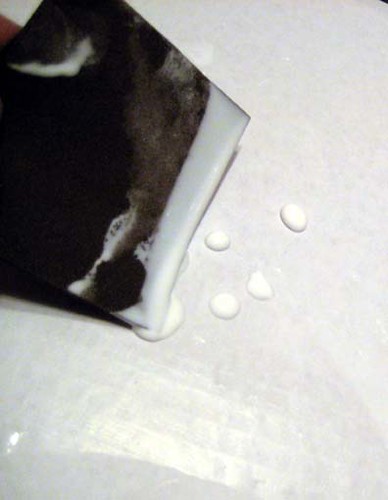
Since I was dealing with a paper cardboard and fabric, I used PVA (polyvinyl acetate) adhesive. It's not as harsh on sensitive materials and will not cause as much warping. Using a piece of scrap board, I applied an even coat of PVA onto the cardboard. Then, I added the fabric on top, pushing out any bubbles.
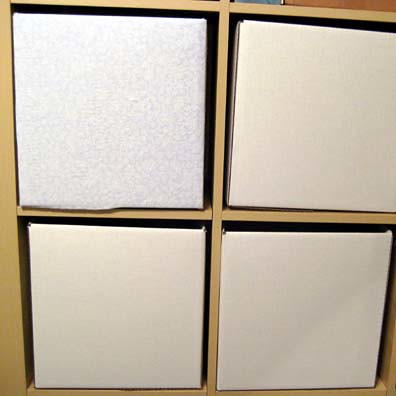
This is what it looks like next to the other boxes (which will soon also be covered).
My next step is to find hardware, such as the white Lazy Daisy Knob, from Anthropologie, but at a better cost.


No comments:
Post a Comment