Monday, August 16, 2010

Wedding Craft #6: Ring Boy Pillow

Andrew, our ring boy
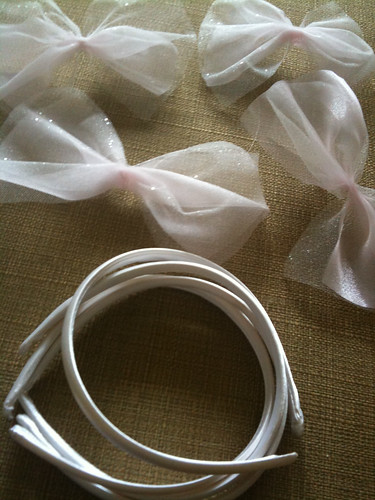
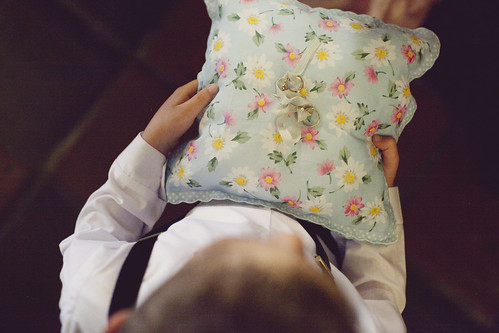
I have the greatest nephew, ever. He's super cute and knows everything and anything about dinosaurs. He loves himself some T-Rex, but he also really loves being a "good boy" and taking on lots of responsibility. He took his duties as ring boy very seriously. Holding onto a pillow with our rings was not a joke for Andrew, he was extremely focused and ready to protect these rings and the pillow. I made the pillow using vintage handkerchiefs, from the same batch of hankies I used to make our invites.
Ring Boy Pillow
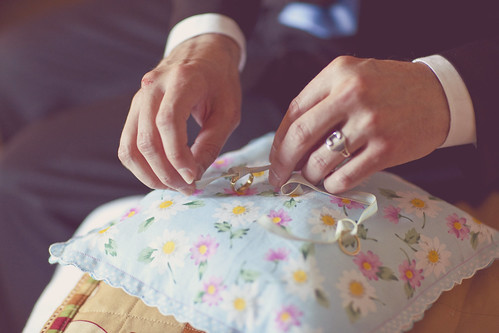
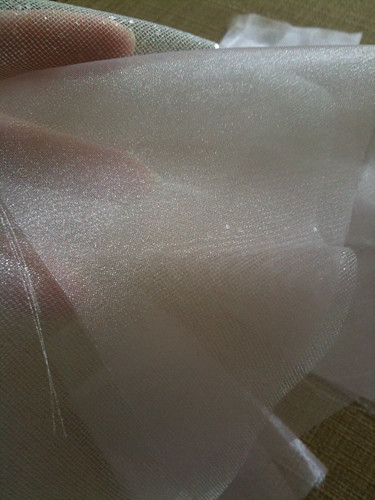
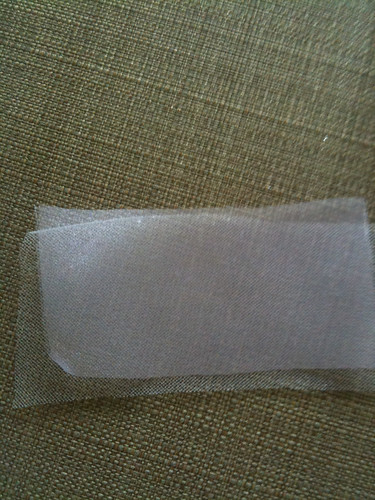
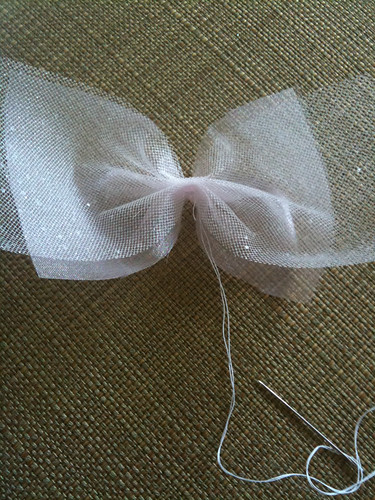
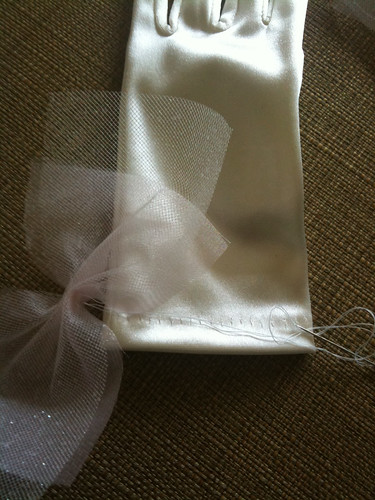
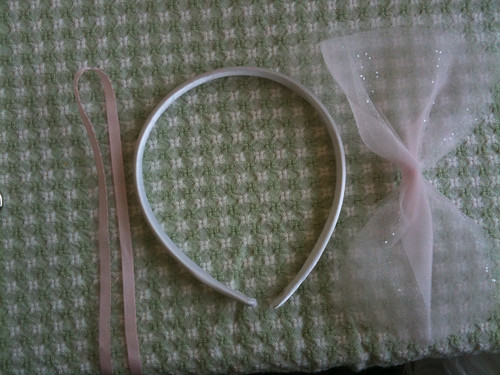
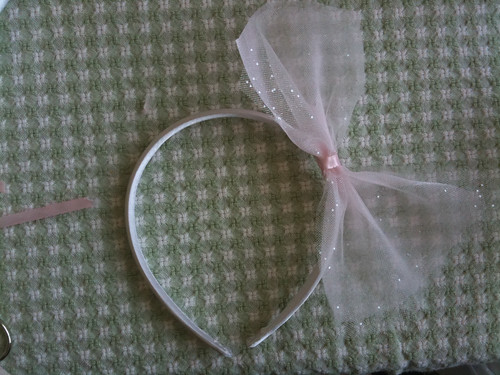
First, I sewed a piece of vintage ribbon in the middle of one of the hankies. I then sewed the two hankies together, leaving room to stuff the pillow. After stuffing the pillow, I sewed it shut, and that was it! Super easy! It looked real cute with Andrew's snappy outfit too!
Andrew & Alex
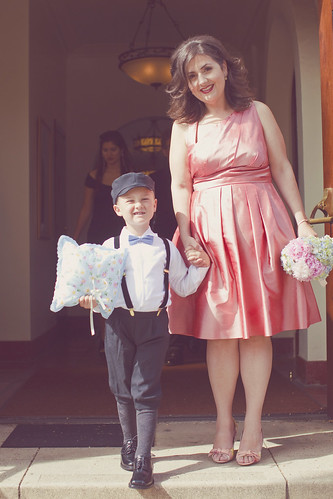
Here he is, pictured with my sister (his mama). Thanks for all the good work, Andrew!

Up next: Wedding Craft #7: Wedding Cake Topper

**Photographs by Our Labor of Love

Monday, August 09, 2010

Wedding Craft #5: Flower Girl Accessories

Lil' Megan
Brian and I are the luckiest auntie and uncle in the world, seriously. Today, we're going to focus on the little ladies in our life, Hannah, Anabelle, Julia, and Megan.
Our Flower girls: Hannah, Anabelle, Julia, and Megan
Really, have you seen a cuter group of girls? Every time I see this picture, I can't help but to giggle at their funny little expressions! I knew I had to do these girls right. I really wanted the girls to have little gloves and headbands with bows on them, but since there were 4 girls, it was looking like a very expensive detail. At $15-20 per pair of gloves and about $10 per headband, I was looking to explore other options. Downtown LA, I went and found these lovely simple gloves for about $3 a piece.
Lil' girl gloves
I also found 4 white fabric headbands for $5, and then spent about $1.50 on sparkly fabric.
Sparkly fabrics
I cut the fabric into strips:
Cut the fabric into strips
Then gathered the middle together to form a bow and sewed the gathered portion down.
Pinch in the middle, then sew into a bow
Fabric bow
After I had all the bows, I began sewing them onto the gloves.
Sewing the bow on
I really like how big the bows looked on the gloves. As it will eventually be revealed, big bows were sort of a theme in our wedding.
Gloves with bows
The big bows made it easy for Julia to hide for photos too.
Lil' Julia
The headbands were a little trickier, but just as easy.
More bows and headbands
In addition to the headband and bow, I also used a small piece of ribbon and some hot glue.
The bow, band, and ribbon
I glued the bow on first, then hid the hot glue under the ribbon. The trick is to hide the glue, but also to use the glue to hold the ribbon down.
Flowergirl headband
All in all, the girls got gloves and headbands for under $20 total! Not only that, but I almost like the ones I made more than the ones I saw for sale. They were fun to make and I think the girls really liked 'em too!

Up next: Wedding Craft #6: Ring Boy Pillow

**The gals were all photographed by Our Labor of Love