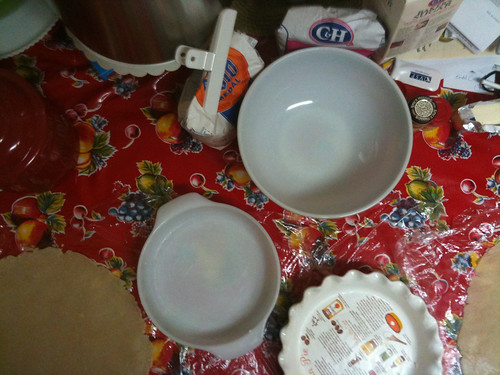
I made the crusts the night before, and chilled the discs of dough overnight. That made it a little easier in the morning. I don't have pie weights (yet), so I usually end up with a somewhat sloppy process of fitting the dough into my pie plate, but I think it came out okay? I used a fork to add some texture to allow the top of my pie crust to adhere a little easier.

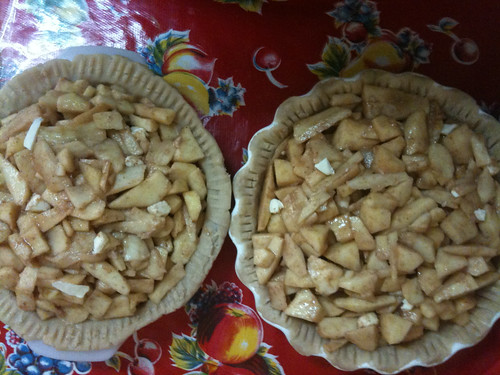
While the pie crusts chilled in the fridge for a little longer, I worked on the apple filling. Mr B made the process go a lot quicker by helping me peel all the apples! After the apples were all cut, I added some lemon, sugar, nutmeg, cinnamon, flour, and a few cubes of butter. Then, in the pie crusts they go.
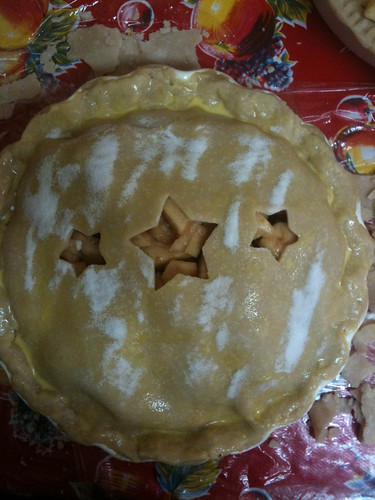
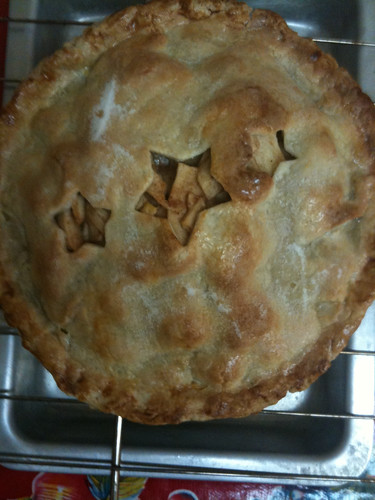
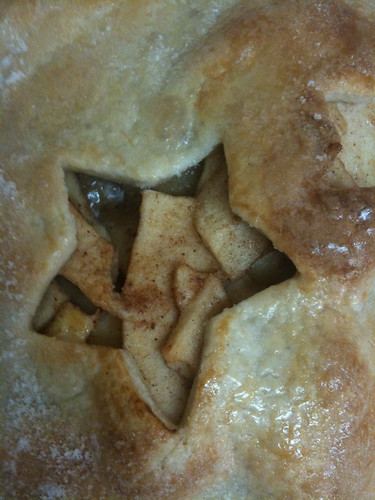
Next, it's time for the top crust. I always use little cookie cutters for the vents. I almost went freestyle with some autumn leaves, but totally chickened out, since we were a little tight with time. I think the stars worked out just fine though. After adhering the two crusts, I brushed on my egg wash and poured a generous amount of sanding sugar on top.
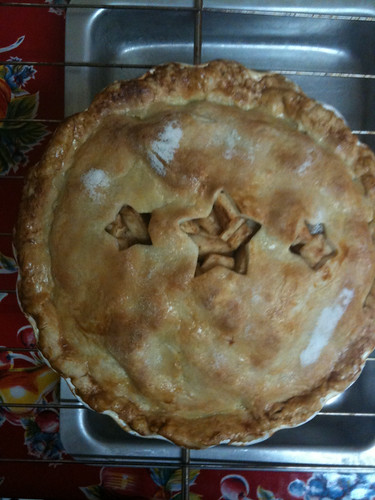
I let the whole pie freeze for about 30 minutes, then into the oven they went. Here is pie number one:
And pie number two:
I got to sneak a taste of each pie, and I do think pie number one was the winner.
I used an actual pie plate to bake this one, which ensured even baking. For pie number two, I ran out of pie plates, so I used a vintage pyrex dish that was somewhat pie shaped. Now, I love my vintage pyrex, but I gotta say, the baking was a bit uneven with this one. I might have to experiment again with an actual pyrex pie plate, but from now on, my little pyrex will go back to making casseroles and looking stylish.
Now, what will I be baking for Christmas....???


3 comments:
Your pies look beautiful! But why did you put them in the freezer before baking? I've never heard of doing that.
Thanks Gatofish! You know, I'm not sure exactly why they should be put in the freezer before? But, Martha said so in her recipe, so I followed. Something about getting the pie to firm up before baking... Martha Stewart's Classic Apple Pie
i now a follower. you have a great blog and i am going to be back to see what else you have. have a great new year.
Post a Comment